Vinyl Flooring Installation
How to Install Vinyl Floors in 6 Simple DIY Steps
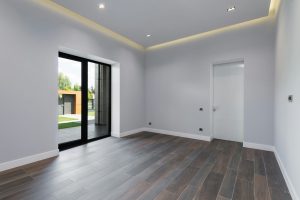
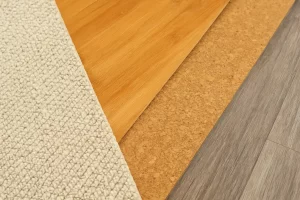
Many homeowners in the United Kingdom prefer vinyl flooring — and for good reason. Vinyl floors are durable, affordable, and relatively easy to install. If you want to refresh your space without overspending, installing vinyl flooring yourself can save money while giving your room a modern, polished look.
Whether you’re an experienced DIY enthusiast or trying flooring installation for the first time, this step-by-step guide will help you complete the job confidently. Let’s walk through the process.
Tools and Materials Required
Before starting your vinyl flooring installation, gather all tools and materials. Being prepared makes the process smoother and faster.
You will need:
- Measuring tape
- Craft knife or scissors
- Pencil or marker
- Flat pry bar
- Pliers
- Adhesive trowel
- Vinyl adhesive
- Double-sided tape
- Mitre box
- Stanley saw
- Hammer and nails or wood adhesive
Once everything is ready, you can begin the installation.
Step 1: Remove Trim Mouldings
Start by removing any trim touching the floor, including baseboards, shoe mouldings, and door trim. These are usually fixed with small nails.
Carefully loosen them using a flat pry bar. If nails remain in the trim, remove them by pulling through the back using pliers. If the trim is still in good condition, set it aside for reinstallation later.
Step 2: Prepare the Subfloor
A smooth subfloor is essential because vinyl flooring is flexible and will show imperfections underneath.
- Clean the subfloor thoroughly to remove dust and debris.
- Concrete subfloor: Fill cracks or uneven areas using a concrete patching compound.
- Plywood subfloor: Use a floor-levelling compound to correct low spots.
Allow the surface to dry fully. Leave the vinyl flooring in the room for at least 24 hours before installation so it acclimatises to the environment.
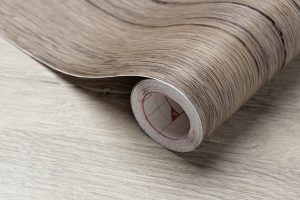
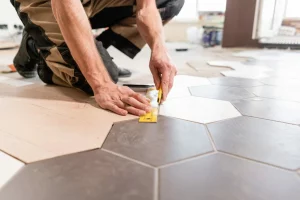
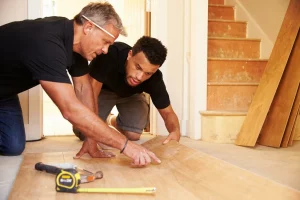
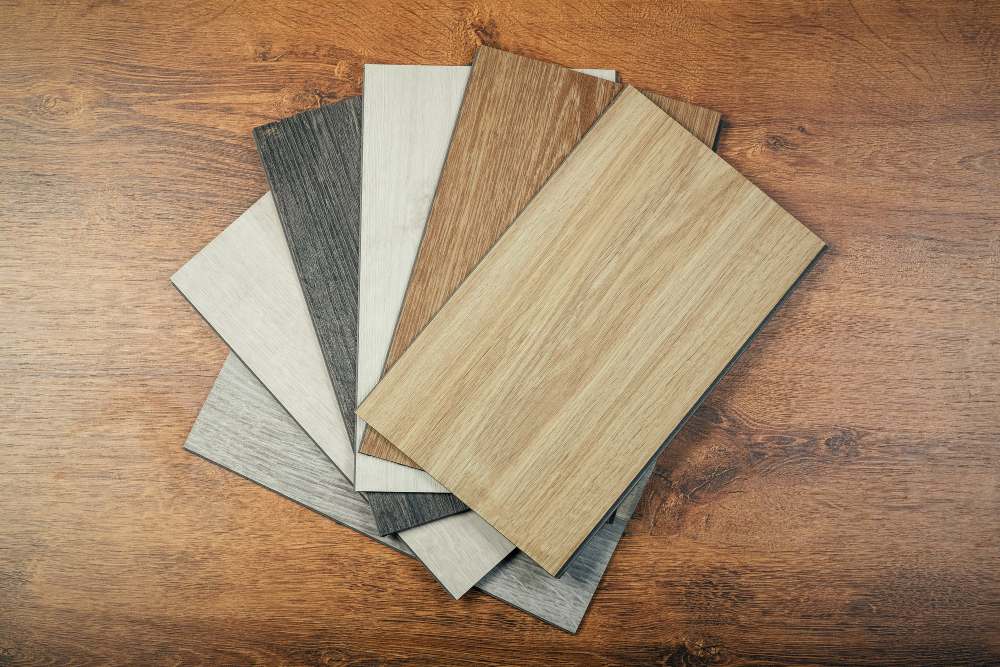
Step 3: Cut the Vinyl Flooring to Size
Measure the room carefully and transfer measurements onto the vinyl. Cut the sheet while leaving approximately 15 cm of extra material on each side for adjustments.
Step 4: Install Vinyl in the Correct Direction
The direction of installation affects the room’s visual appearance.
- Lay vinyl in the direction of natural light for the best finish.
- In narrow rooms, run planks lengthwise to make the space appear larger.
Installation method by room size:
- Small rooms (up to 12 m²): Loose lay installation is sufficient.
- Medium rooms (12–25 m²): Use double-sided adhesive tape around edges.
- Large rooms (over 25 m²): Apply vinyl adhesive to the subfloor for secure placement.
Step 5: Trim and Finish Edges
Trim excess vinyl along the edges using a utility knife and straightedge. Leave a small gap near walls to allow for expansion. Carefully cut around pipes, corners, and fixed objects for a precise fit.
Step 6: Reinstall Trim Mouldings
Once the vinyl flooring is in place, reinstall baseboards and trim. Secure them using adhesive or nails. If using nails, sink the heads below the trim surface for a clean finish.
Final Tip
Proper preparation is the key to a professional-looking vinyl flooring installation. Taking time to level the subfloor and measure accurately will ensure durability and long-lasting results — something we always emphasise at QFlooring in our flooring maintenance guidance as well.