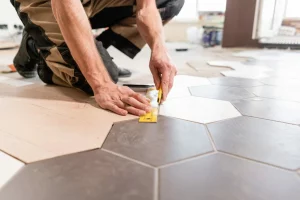
Are you sick of the incomplete appearance of your brand-new laminate flooring? Installing a new laminate floor border strip is the answer to this problem. You can choose edging strips that match the sort of flooring that you have. They add a polished appearance to your floor and are simple to install. You will learn how to install laminate floor edge strips from our Qflooring experts.
Importance of Edging Strip on Laminate Floors
Edging strips can enhance the aesthetics and durability of your laminate floor. It can also provide safety and can help you clearly differentiate between different types of flooring. You may receive different edging strips depending on what order of flooring you have.
Essential-to-Understand Instructions
Take Precise Measurements
It’s easy to measure a room because you just need to count the lengths of the walls and not worry about angles or other factors. Accurate measurement not only makes it easier to achieve flawless edging strip cuts but it also gives you an idea of how much strip you’ll need to buy on the fitting laminate floor.
The total length of all suitable walls is added up to calculate the length of the edging strip. This sum serves as a starting point for calculating the necessary quantity. You should budget an extra twenty-five percent to cover any possible waste.
Cutting the Edging Strip
You will need to use a high-quality hacksaw to cut the end of the laminate floor edging strip to the proper angle. Cutting the edging at a 45-degree angle will ensure that it fits together perfectly and won’t have any gaps.

Tools Required in Fitting Laminate Floor Edging Strip
The installation procedure can be finished with pre-existing tools or a flooring kit and calls for the employment of the proper tools, such as spacers and pull bars.
Some tools you may require are as follows:
- Mitre saw
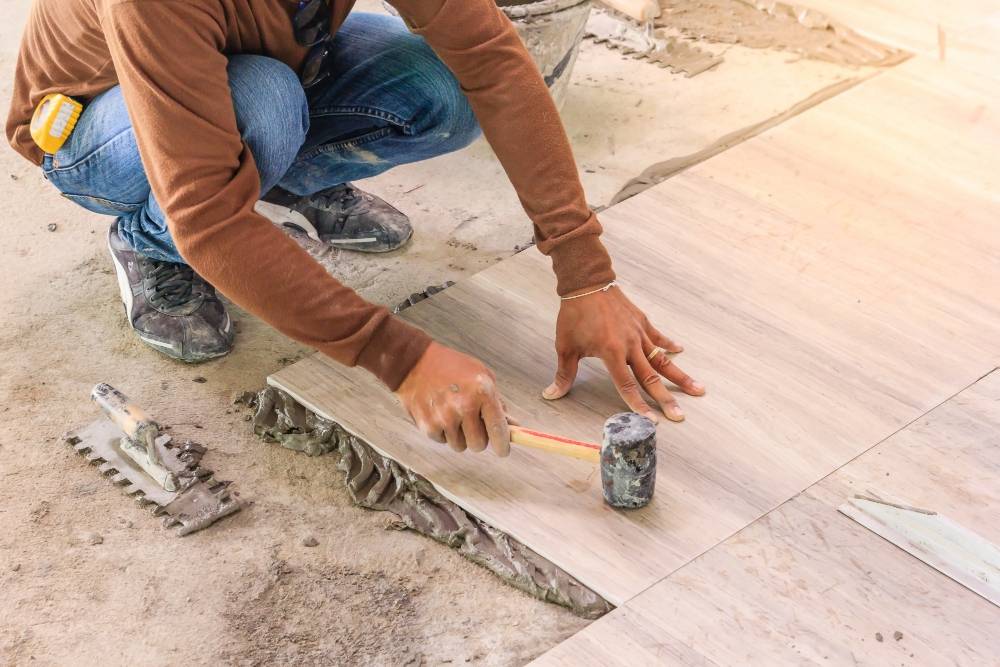
- Hammer
- Small crowbar
- Drill with a flat wood bit
- Stanley knife
- Square
- Flooring kit (including spacers and pull bar)
- Tape measure
- Pencil
- Masking tape
Standard Methods of Fitting Laminate Floor Edging Strip
There are 2 common ways of fitting the edging strip to your laminate floor that are mentioned below:
Method 1: Fixed Board Approach
- Fix boards directly onto the subfloor using galvanised screws or nails.
- Suitable for solid wood subfloors, not floating floor joists.
- Prevents later movement of the laminate floor.
- Needs trust in one’s ability to do it yourself or in the required flooring tools.
Method 2: Adhesive Application
- Use a glue gun to apply a small amount of glue.
- Firmly press the edging strip into place.
- For the best bonding, let the glue sit overnight.
Which approach you choose to employ is purely a matter of preference, as both are equally appropriate.

Safety Precautions
When installing laminate flooring, safety is of the utmost importance. If in doubt, consult a professional. For peace of mind, take notice of these safety recommendations.
- When cutting wood, use kneepads, safety goggles, and face masks, and take frequent rests.
- When taking precise measures and installing new flooring, use a measuring partner.
- When handling solvents and fillers, please exercise caution and keep them out of children’s reach.
How to Prepare Your Floor for Installation?
You can prepare your laminate floor of edging strip by using the following steps:
- Before installing a laminate floor, ensure that all surfaces are dried and smooth.
- Secure any screws or nails below the surface to avoid puncturing the laminate or underlay.
- Allow the laminate boards to lie horizontally at the intended installation position for 2 days to ensure that they are level and suited to the area.
- After vacuuming the area to remove any dust and debris, remove any last bits of old flooring adhesive using sandpaper or a scraper.
- To ensure that a damp-proof membrane is installed over concrete, it is recommended to use an underlay with a built-in membrane for quicker installation.
Installing Procedure of Edging Strip on Laminate Floors
You can follow these simple steps to install the edging strip on laminate flooring.
Step 1: Measure the length needed for the edging strip.
Step 2: Cut the strip to size if necessary.
Step 3: Prepare the laminate flooring by cleaning it.
Step 4: Position the edging strip along the edge of the flooring.
Step 5: Mark where the strip will be attached.
Step 6: Apply adhesive to the strip or mark spots for screws.
Step 7: Attach the edging strip securely to the flooring.
Step 8: Allow adhesive to set if using.
Step 9: Clean up any excess adhesive or debris.
Step 10: Ensure the strip is firmly in place and aligned correctly.
Final Talks
In conclusion, the frustration of incomplete laminate flooring can be quickly addressed by installing a fresh border strip tailored to your flooring type. With precise measurements and careful cutting, along with the use of appropriate tools and safety precautions, the process becomes manageable for any DIY enthusiast. Whether opting for a fixed board approach or adhesive application, both methods ensure a polished finish.
Additionally, Qflooring offers professional fitting services to alleviate any installation concerns, providing peace of mind and enhancing the overall experience of floor renovation.