Vinyl flooring is an outstanding option for flooring purposes. It is rich in style, colour and design, and this versatility makes it a wonderful option for the flooring of your homes and commercial buildings. Vinyl flooring amazingly enhances the aesthetics of your interior. These are durable, affordable, adorable and seamlessly blend with the theme of your room, kitchen or lounge.
Installing vinyl flooring is an art that a professional must perform to ensure a smooth, shiny surface. Read the blog below to learn how to lay vinyl flooring with detailed guidance on vinyl installation.
Tools Equipment Needed for Vinyl Flooring
Before going into the details of installation, first of all, let’s look at what kind of equipment is needed:
- Vinyl adhesive
- A good pair of scissors or a Stanley knife
- Lining paper
- Measuring tape
- A straight edge
- Pencil
- Knee pads
- Home-made scribing gauge
- Bolster chisel
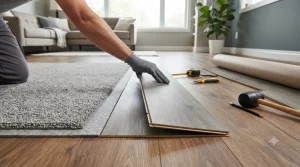
Prepare Your Sub-Floor for Vinyl Flooring
To lay vinyl flooring, you have to ensure the sub-floor is ready:
- First, clean your room and remove all kinds of fittings, furniture and other items so you can work easily.
- The floor conditions must be suitable; for example, if there is concrete, let it dry. Likewise, if there is underfloor heating, check whether the vinyl type is suitable to cover it.
- Now check the condition of the floorboard. If they are not in good condition, consider replacing them.
- Prepare existing floorboards by properly nailing the loose floorboards. Press it down if any floorboards are higher than the others.
- Ensure the surface is even, and no nails are sticking above the ground.
- Once you have made the undersurface even, you are ready to go for laying vinyl flooring.
Laying Vinyl Flooring
Initial Steps
The starting steps for laying vinyl flooring include making necessary adjustments to ensure the vinyl will be smooth.
- Vinyl flooring starts with taking accurate measurements of the floor’s dimensions. Ensure to measure carefully along with the fixtures and cut properly for an even finish.
- If there is an old vinyl floor, you can use it as a template and take measurements. This can help you take precise measurements.
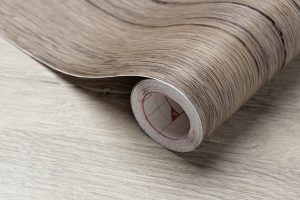
- Now it’s time to lay vinyl flooring. Leave your vinyl in the room for almost a day or two so that it may adapt according to the room’s conditions and can be adjusted easily later.
- Unroll your vinyl flooring sheet by moving it parallelly to the longest wall and stop unrolling at a distance of 25mm from the skirting board.
- Usually, the skirting boards in your rooms may not have perfectly straight edges. This issue can be solved with a scribing gauge to ensure the vinyl fits aptly against the wall. To solve this issue, find a piece of wood and hammer a nail until it emerges from the other side.
- Gently slide the gauge along the skirting, allowing the nail to make a light outline on the vinyl. Use your Stanley knife to follow this marked line, and then carefully position the vinyl against the skirting board.
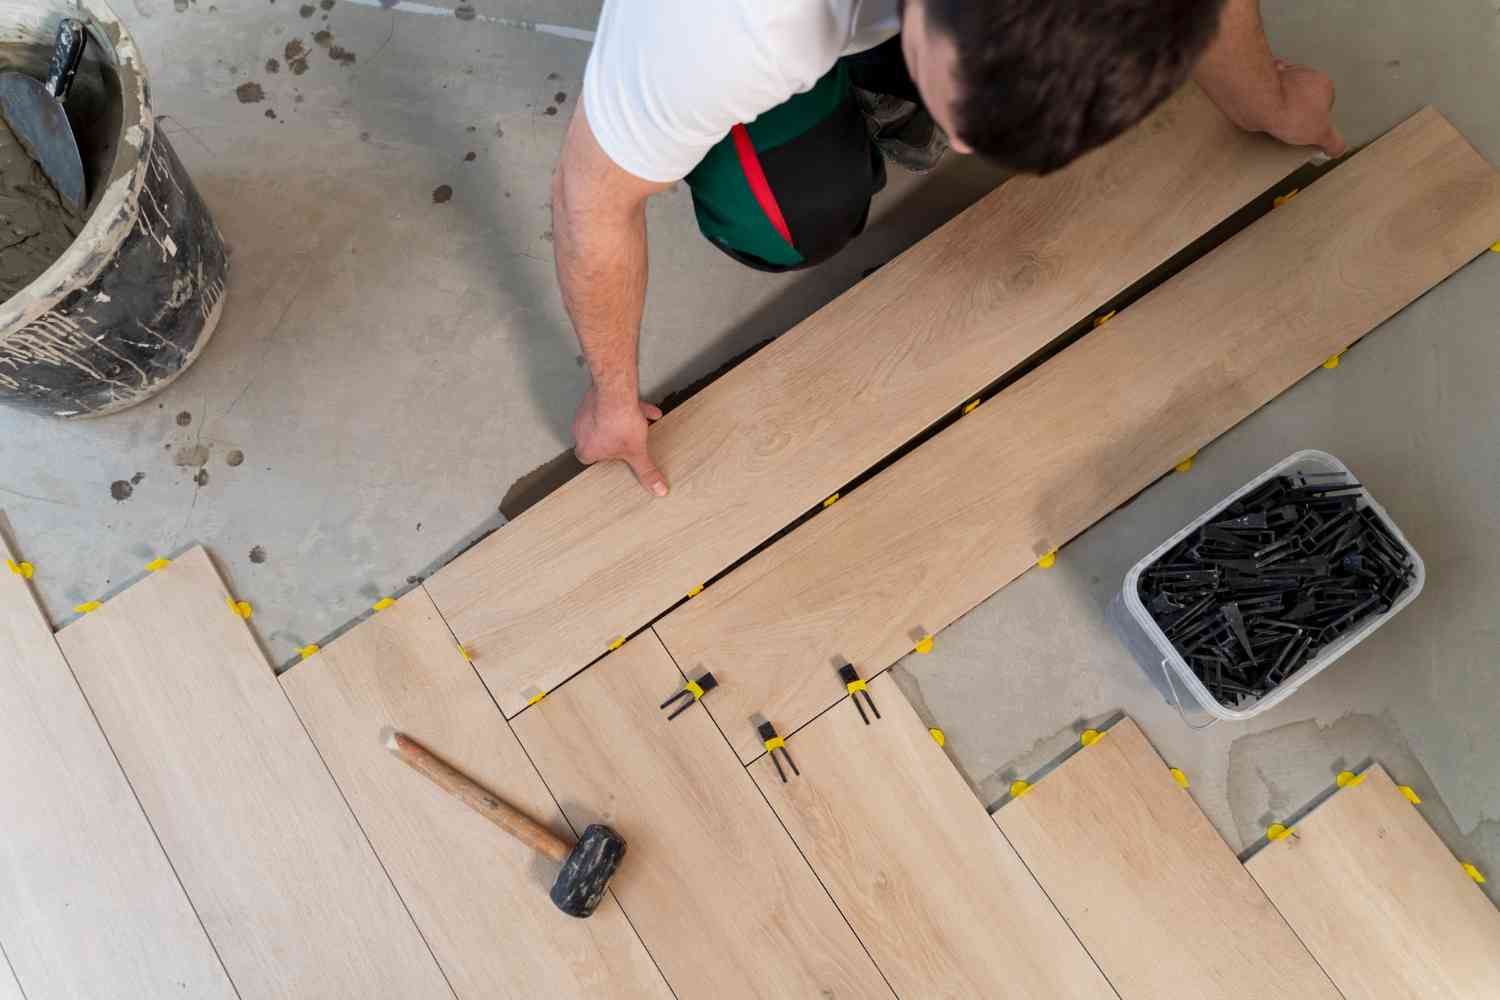
Vinyl Laying
- To lay vinyl along internal corners, cut it into a triangle to fit it around the corners, whereas for external corners, cut the vinyl from the edges. Ensure that at least 50-100 mm vinyl is turned up on the skirting boards.
- Use a bolster chisel to press the vinyl between the skirting and the floor to ensure a fine crease.
- The final step uses glue to adhere the vinyl to the floor sub-surface. Some vinyl sheets have glue attached to their bottom for self-adhesion. Otherwise, you have to apply glue by yourself. You may apply glue along the room’s perimeter for loose-lay vinyl flooring. Otherwise, you can apply under the whole bottom for a tighter grip between the vinyl and the floor.
Joining Two Vinyl Floor Sheets
Joining vinyl flooring sheets is a common issue for larger rooms or halls, and it demands a little bit of technical approach to join two vinyl sheets to come up with a seamless joint.
- First, cut from the same roll to generate a fine impression of the final look.
- For sheets having some patterns, be careful to cut both pieces so that both pieces join to maintain the coherence of the pattern or designs.
- Once you find that both the pieces are joined seamlessly, simply glue them together.
- One important thing to remember is to plan your vinyl cutting so that the joint does not appear in the door hallway, as it may become more apparent due to excessive wearing.
 How to Lay Lino
For those using lino instead of vinyl, the process is very similar. Start with measuring the area, cutting the lino slightly larger than required, and allowing it to acclimatize in the room for a few hours.
- Roll out the lino along the longest wall and check for any bumps or uneven areas.
- Apply adhesive evenly if using a glued installation, or leave it as loose-lay if the lino type allows.
- Use a roller to smooth the lino down and remove any trapped air bubbles.
- Trim excess material along edges carefully with a sharp knife.
Fitting Lino
Fitting lino around corners, door frames, and cupboards requires precision.
- For internal corners, cut the lino into a triangle to fit snugly.
- For external corners, trim along the edge for a clean finish.
- Always leave a small gap near walls for expansion.
- Press the lino carefully with a roller or hand tool to ensure it adheres properly.
Laying Lino
When laying lino sheets around tricky areas like pipes, pedestals, or radiators:
- Cut sheets carefully to fit around obstacles.
- Use a bolster chisel or hand tool to press the lino into tight spots.
- Apply adhesive as needed to ensure it stays firmly in place.
By following these steps, you can confidently understand how to lay vinyl flooring with QFlooring, while also mastering techniques for how to lay lino, laying lino, and fitting lino for a professional finish.